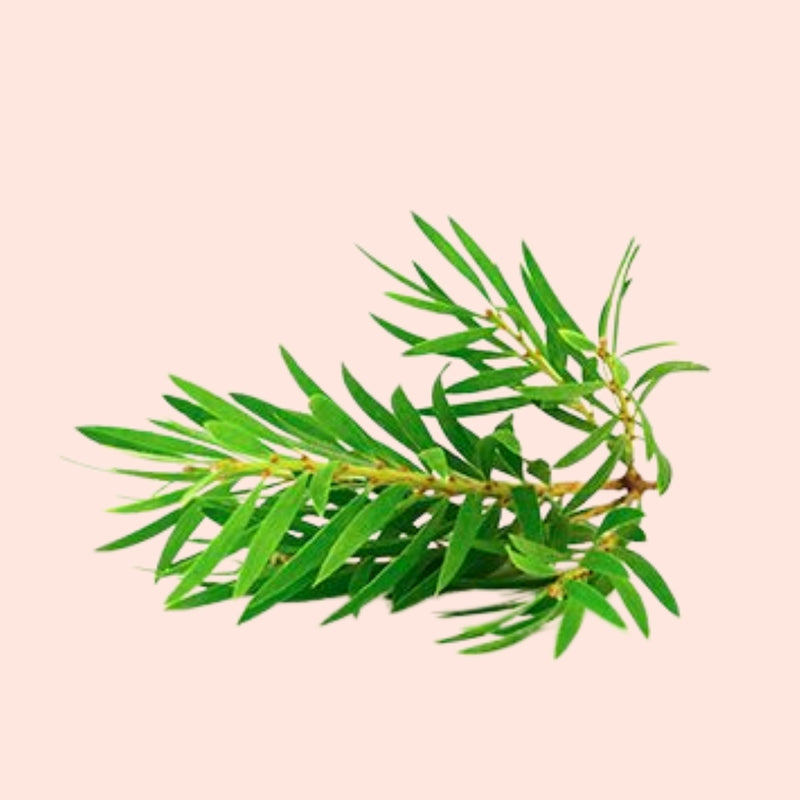

The tea tree oil soap is one of the refreshing, cleansing, and therapeutic soaps that one can make at home. The tea tree oil has been known to have antibacterial, antifungal, and anti-inflammatory properties, which make it very popular in natural skincare remedies. By making your own tea tree oil soap, you can reap its benefits in a form that is soft and safe to the skin and can be used on a daily basis.
This homemade technique eliminates the use of harsh chemicals and leaves you in full control of ingredients, which become a pure and nourishing bar of soap. It is also easy and accessible to use a melt-and-pour base even for beginners. You can use this soap to achieve a clearer skin, relieving yourself of irritation, or just having a deep cleanse, as it is a good addition to your skincare regimen. This means that with basic equipment, natural materials, and a few precautions, one can produce a good tea tree oil soap even at home.
Benefits of Tea Tree Oil Soap
Tea tree oil soap presents strong cleaning and purification properties that favor healthy skin. It is natural and has antimicrobial properties, which makes it the best choice to deal with acne, body odor, and fungus. It can be used as a daily cleanser, which is mild but effective, and effective when mixed with a nourishing soap base, making it applicable to various types of skin.
1. Major Cleaning and Detoxification
Tea tree oil assists in washing away dirt, excess oils, and impurities that are entrenched in the pores that leaving your skin clean and purified. The soap infuses easily into the skin, clearing pores, maintaining the natural body moisture of the skin. It is also detoxifying and, therefore, best suited to those individuals who either live in polluted areas or sweat a lot. They can be used regularly without abusive chemical cleansers to clean up and have healthy skin that is clean and healthy-looking.
2. Antifungal and Natural Antibacterial Protection
The fact that tea tree oil prevents the use of medication to combat bacteria, fungi, and microbes is one of its greatest advantages. In soap, it is known to help eliminate the concentration of bacteria on the skin that may cause acne, body odor, and breakouts. The soap can be useful in such conditions as fungus or athlete's feet due to its antifungal properties. This advantage renders tea tree oil soap a good option among gym-goers, people of teenage years, and those who have bacteria-sensitive skin.
3. Lessens Swellings and Soothes Irritation
Tea tree oil has ingredients that calm down the redness, irritation, and swelling. This renders the soap particularly useful in the case of sensitive, irritated, or acne-prone skin. It assists in the settling of inflammation due to environmental stress factors or mild reactions of the skin. With consistent use, it will help decrease the number of flare-ups, as well as discomfort, which will help the skin look more even and balanced. Its cooling action is not harsh but gives a light relief without depriving the skin of its moisture.
4. Helps Get a Clearer Skin and Breakout Prevention
Tea tree oil is also very popular in the treatment of acne due to its capacity to decrease excess oil production and combat bacteria that cause acne. When used in soap, it will prevent new breakouts whilst slowly even improving existing ones. Its pore-decongesting effect keeps the skin clean, clears up the complexion in the long run, and it's a purifying effect. The tea tree oil soap is particularly popular among individuals who fail to overcome recurring pimples or body acne.
Ingredients:
The tea tree oil soap that you make yourself will require only a few basic natural ingredients, which, when combined, will cleanse, nourish, and protect the skin. Melt-and-pour soap base is perfect as it requires no work with harsh chemicals, only adding useful ingredients to it. The benefits of tea tree essential oil will include antibacterial and antifungal properties, and the best part is that we will have vitamin E and aloe vera, which serve to add nourishment. It is also possible to add botanicals or natural colorants to add richness. Every ingredient has a purpose in the soap, which is to form a mild and effective cleanser that helps keep the skin healthy. It is also important to know every constituent so that you can tailor the soap to your skin type and preference.
Ingredients List:
- Melt-and-pour soap base (glycerin, shea butter, or goat milk).
- Tea Tree Essential Oil
- Vitamin E Oil (optional)
- Aloe vera gel or juice (Optional)
- Natural colorants (optional)
- Optional dried herbs such as neem or rosemary.
- Rubbing alcohol spray
- Soap molds
- Heat-proof bowl or double boiler.
- Mixing spoon
How To Make Tea Tree Soap?
The preparation of tea tree oil soap at home is very easy and has a few steps. A melt-and-pour base allows the process to be safer and simpler compared to the traditional lye-based soap-making. The individual steps make the soap soft, efficient, balanced, and potent with the effective properties of tea tree.
Step 1: Melting the Soap Base
It starts by cutting your melt-and-pour soap base into uniformly sized cubes. This assists in the melting of the base without burning or becoming too liquid. Put the cubes in a microwaveable or double boiler. In case of using a double boiler, the fire should be maintained at low heat and mixed every now and then to prevent excessive heat. Assuming melting in a microwave, it should be heated in 20-30 second intervals with stirring between them to avoid bubbles or scorching. The aim is to ensure that the base is melted to a smooth and lump-free surface. It is necessary to make sure the tea tree oil melts correctly, so that it will be mixed later to form a uniform texture of the soap.
Step 2: Tea Tree Oil and Extra Ingredients
When the soap base is completely in melted form, take it out of the heat and leave it to cool slightly. This is a necessary step since the addition of essential oils into very hot soap may decrease their activity and change the smell. Put in 10-15 drops of tea tree oil as per the intensity of aroma and the benefit you want. Blend gently and thoroughly to ensure that the oil is well mixed. Additional ingredients like oil of vitamin E, aloe vera, or dried herbs should be added at this stage (they are optional). The additions increase the moisture, add calming benefits, and improve the feel of the soap. When mixing, it should be done gently so as not to add air bubbles and thus make the finish smoother.
Step 3: Pouring the Mixture Into Molds
Prepare your soap molds by lightly spraying them with rubbing alcohol to reduce bubble formation. Pour the soap mixture slowly into the molds, ensuring the liquid reaches all corners and settles evenly. This slow-pour method prevents trapped air and creates clean, professional-looking bars. If bubbles appear on the surface, lightly spray them with rubbing alcohol to break them. Allow the filled molds to rest undisturbed on a flat surface. This ensures the soap sets uniformly and retains its shape without dents or uneven texture. Proper pouring helps create a visually appealing bar that is smooth and aesthetically pleasing.
Step 4: Cooling, Unmolding, and Curing the Soap
Let the soap cool naturally at room temperature for several hours, depending on the size of your molds. Avoid placing the molds in the freezer immediately, as sudden temperature changes can cause cracking. Once the soap is firm and fully set, gently press the molds to release the bars. If they resist, allow them to rest a bit longer. After unmolding, let the soap cure for 24–48 hours to enhance fragrance, solidify texture, and improve longevity. Proper curing ensures the soap lasts longer during use and delivers consistent benefits.
Safety Precautions
When working with tea tree oil, always use it in diluted form, as undiluted oil can irritate sensitive skin. Perform a patch test before using the soap to check for allergic reactions. People with very dry, extremely sensitive, or eczema-prone skin should use tea tree oil soap cautiously, as its strong antibacterial nature may be drying. Keep essential oils away from eyes, children, and pets. Always store your homemade soap in a dry, cool place to prevent sweating or microbial growth.
Frequently Asked Questions
Here are some common questions people ask before using or making tea tree oil soap. These answers help clarify how the soap works, its benefits, and whether it's suitable for different skin types.
Q1: Does tea tree oil soap kill bacteria?
Ans: Yes, tea tree oil soap has antibacterial properties that help reduce bacteria on the skin. This makes it effective for cleansing, preventing body odor, and reducing acne-causing microbes.
Q2: Is tea tree oil soap good for skin?
Ans: Tea tree oil soap is excellent for oily, acne-prone, and bacteria-prone skin. It cleans deeply, soothes inflammation, and supports clearer skin. For dry skin, it should be used with moisturizers.
Q3: Can you use tea tree oil soap on your face?
Ans: Yes, tea tree oil soap can be used on the face, especially for acne-prone skin. However, patch testing is essential, and it should be followed by a gentle moisturizer to prevent dryness.
Q4: Does tea tree soap dry out skin?
Ans: It may cause dryness for some skin types, especially sensitive or already dry skin. Using a hydrating moisturizer after washing can help balance moisture levels.
Q5: Does tea tree oil soap help acne?
Ans: Yes, tea tree oil is proven to help reduce acne by fighting bacteria, reducing inflammation, and preventing clogged pores. Regular use can significantly improve body and facial acne.
Conclusion
Tea tree oil soap is a natural, effective, and refreshing cleanser you can easily make at home. With simple ingredients and careful steps, you can create a soap that purifies, soothes, and supports healthier skin. Enjoy customizing your soap for long-lasting freshness and clarity.
DISCLAIMER
This content is for informational purposes only and is not a substitute for professional medical advice, diagnosis, or treatment. Always consult a healthcare provider before using essential oils for any health condition.