
There is nothing like homemade soap bars with essential oils that can be considered a beautiful combination of creativity, wellness, and natural living. In contrast with most other commercial soaps, where the fragrance is synthetic, the detergents are harsh and artificial preservatives are used, with handmade soap, you are able to define each ingredient that comes into contact with your skin.
With nourishing oils, natural butters, and pure essential oils, you will be able to make a soap bar that is easy to bathe with, yet has therapeutic values. Essential oils are also a natural fragrance source, and because of the type of oil used, they are antibacterial, calming or rejuvenating. Home soap making can be scary and daunting, but with the right advice and careful measures, would turn out to be a valuable and cheap pastime. Homemade soap allows absolute customization and healthy skincare, whether in a relaxing lavender bar, a refreshing citrus blend in the mornings, or an herbal soap on acne-prone skin.
Benefits of Homemade Soap Bar
There is much more to homemade soap bars than cleansing. They mix therapeutic essential oils with natural products, creating a product that is skin-health, emotional, and environmentally sustainable.
1. Friendly to Skin Cleansing
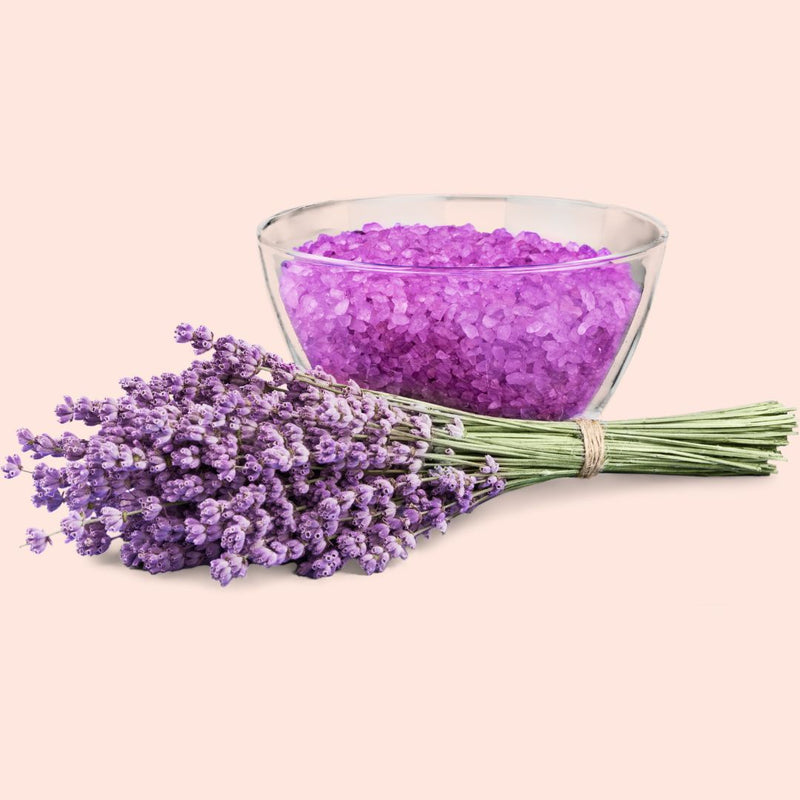
The major benefit of homemade soap is that it contains no harsh chemicals such as parabens, sulfates, and synthetic fragrances. When making your own soap, you have the option of using oils that nourish like olive oil, coconut oil, and shea butter that are very cleansing. The use of essential oils such as lavender, tea tree, or chamomile makes the soap skin-friendly. This is particularly helpful with homemade soap because it is useful for people with sensitive or dry skin. These bars do not deprive the skin of natural oils, they preserve the hydration of the skin and make it soft and healthy.
2. Adaptable to Varying Skin Loose Cuts
Homemade soap will enable you to customize ingredients to your desired skin issues. In the case of oily or acne prone skin, tea tree or eucalyptus essential oils may be included due to the fact that they are antibacterial. In the case of dry skin, you can make shea butter a bigger percentage or add sweet almond oil to ensure additional moisture. Frankincense or geranium are some of the essential oils that can be applied to mature skin, and they are rejuvenating. This quality guarantees that your needs are met uniquely, as the soaps are produced in a unique manner, as opposed to mass produced soaps, which are used in the general market.
3. Aromatherapy
Aromatherapy is actively applied in essential oils to influence mood and mental state. These oils will give slight therapeutic properties to the homemade soap when combined with the other oils. Lavender is relaxing, peppermint is stimulating, and citrus oils are mood lifting. Stress can be minimized by the mere process of taking a shower using a fragrant soap, which can improve everyday self-care routines. This makes a basic shower into an invigorating or relaxing experience, and this is based on what you want to mix.
4. Environmentally Conscious Choice
Handmade soap production will help decrease plastic waste and lead a more environmentally friendly life. The majority of the commercial soaps are packaged in plastic bags, but homemade bars can be packed in paper wraps or reusable containers. Also, plant-based oils and other natural oils are biodegradable and are less toxic to waterways. Made with no synthetic chemicals or microplastics, homemade soap makes the environment cleaner. It is not only a sustainable solution that is useful to your skin but also contributes to the protection of the planet for future generations.
Ingredients For Homemade Soap Bar
To prepare a quality homemade soap bar with essential oils using the cold process method, the following materials will be required:
- Olive Oil (500 g): Gives a mild cleansing effect and intense moisturizing. It forms a soft and skin loving soap base.
- Coconut oil (300 g): Gives the soap its hardness and gives it a full and bubbly lather.
- Shea Butter (100 g): Provides great levels of nourishment and makes the soap creamy and conditioning.
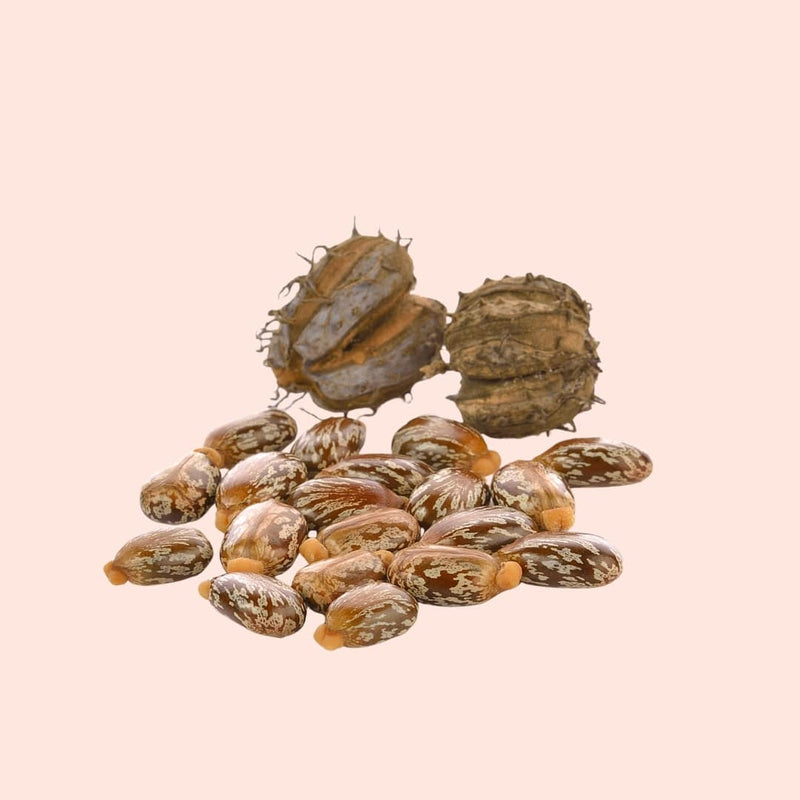
- Castor Oil (100 g): Improves lather and gives it a silky feel.
- Distilled Water (380 g): It is used to dissolve lye and start the saponification process.
- Urea (Lye) (around 140 g): necessary to convert oils into soap.
- Essential Oils (2030 ml combined): Select Essential Oils based on the taste. The most common ones are lavender, tea tree, peppermint, eucalyptus, lemon, orange, rosemary, and geranium.
Optional Additives:
- Natural colorants (activated charcoal, cocoa powder, mica powders or turmeric)
- Dried herbs or flower petals
- Extra Vitamin E Oil as a source of nourishment.
- Oatmeal is to be used as a soft exfoliation product.
- Measurements need to be correct and determined through a trusted soap-making lye calculator, such as to avoid unhealthy and ineffective saponification.
Homemade Soap Bar with Essential Oils: Step-by-Step Recipe
Homemade soap production is a process that needs accuracy, patience, and care. The cold process method is one of the most popular techniques as it does not harm the properties of essential oils and nourishing ingredients. Each step is to be followed to achieve the best results.
Step 1: Prepare Your Workspace
Begin by placing a sheet of newspaper or any other protection over your work place. Use protective garments (long sleeves, safety gloves and goggles). Keep animals and children out of the place. Make sure that it is well ventilated since the combination of lye and water emits fumes. Prepare all ingredients and materials such as a digital scale, heat-resistant or stainless steel containers, silicone spatula, stick blender, thermometer, and soap mold. Preparation makes it smooth, and the chances of accidents are minimized.
Step 2: Precisely Measure Ingredients
Measure each oil, butter, distilled water and sodium hydroxide separately and carefully using a digital scale. The correct lye measurements are essential when making soap, as inappropriate measurements of lye may result in mean or unsafe soap. Calculate the required amount of lye with a soap calculator to ensure that you use the right amount of lye. Arrange all weighed ingredients neatly, and in either case, they should be well apart to avoid confusion when mixing.
Step 3: Mix the Lye Solution
Gradually add sodium hydroxide to distilled water (under no circumstances vice versa). Pop it until it is completely dissolved. The mixture will superheat quickly and will emit fumes, and thus one should not inhale it. Let the lye solution cool down to approximately 35-45 o C. Containers made of aluminium are not to be used since lye interacts with metal. This action triggers the chemical action required in making soap.
Step 4: Melt and Combine Oils
In another heat-resistant dish, the Coconut Oil and shea butter should be melted over low heat, gently. Once melted, add Olive Oil and Castor Oil. Stir well to combine. Let the oil mixture cool to approximately the same temperature as that of the lye solution (35-45 o C). The matching of the temperatures will guarantee the smooth blending process and the saponification.
Step 5: Blend to Trace
Gradually add the lye solution that is cooled to the mixture of oil. Blend in bursts with the help of a stick blender. Blend and stir alternatively until the mixture becomes thick enough to trace. Trace implies a visible line when drizzled on the surface by the batter. It means that it is saponified, and the batter of the soap is prepared to receive essential oils and additives.
Step 6: Insert Essential Oils and Additives
20-30 ml of Lavender Essential Oil or your selected essential oils can be added at a light trace. Blend and mix well. In the case of natural colorants, oatmeal or dried herbs, combine them without stirring hard. Bake the batter fast but not too fast, so it does not thicken. They need to be mixed properly so that the fragrance and the texture are uniform all over the soap.
Step 7: Pour into Mold
Batter pour the soap into a lined or silicone mold. Lightly tap the mold with the air bubbles. Using a spatula, smooth the top to your own preference. Wrap a towel over the mold to maintain the heat and the soap to get into the gel state. At this stage, texture and color are improved.
Step 8: Unmold and Cure
After 24-48 hours, determine whether or not the soap hardened. When hard, liberate it from the mold and divide into bars. Keep the bars on a rack in a cool, dry place where there is good air circulation. Allow them to cure for 4–6 weeks. Curing permits the process of excess water evaporation and makes the soap mild, durable, and safe to use against the skin.
Safety Precautions
The process of soap making consists of working with sodium hydroxide that is a caustic material. Gloves and goggles should be consistently put on during the handling of lye. To prevent inhalation of fumes, gradually add lye into the water, then stir the mixture in a well-ventilated area. Stock vinegar to counter any spillages by accident on surfaces (not on the skin).
The essential oils should be applied at safe dilution levels. The most common essential oils used in soap are normally considered safe at 2-3 percent of the total weight of oil. Do not use too much because high concentrations cause irritation of the skin. Never forget a patch test, which is done on a small section of the skin with the cured soap before using it.
Examples of the individuals who need to consult a healthcare professional before using essential oil soaps are pregnant women, young children, pets and those who have sensitive skin or allergies. Cinnamon, clove and some citrus oils are some that can be irritating or photosensitizing. The quality of soaps should also be preserved by proper labelling and keeping them away from moisture.
Frequently Asked Questions
Soap making at home is a topic that attracts criticism, particularly when it comes to the use of essential oils and safety. Knowing how to blend correctly, the type of oils to use and the best practices would make your soap effective and gentle to the skin.
Q1. How do I make soap with essential oils?
Ans: Before preparing a soap with essential oils, one needs to prepare a basic soap base using oils, lye, and water using the cold process. When the mixture has turned to a light trace, then essential oils may be added at a safe rate of dilution (2-3% of the total weight of the oil). Bake and stir, pour in molds. mold, and cure the soap for 4-6 weeks to be thoroughly saponified, taking good care that it is not too hard or too soft.
Q2. What essential oils mix well together for soap making?
Ans: A lot of essential oils are well blended with soap. Rosemary or lemon are two types of herbs that smell good with lavender. Cinnamon or clove goes well with sweet orange to give it a warm smell. Peppermint is mixed with eucalyptus to cool, spa-like, refreshing effect. Geranium and frankincense form a flowery, earthly combination that will work on mature skin. Blending should be compatible and in accordance with the advised rates of use.
Q3. What essential oils should not be used in soap?
Ans: Certain essential oils may be harmful to the skin or not be used by topical application. Such oils as wintergreen, camphor, and some spice oils (cinnamon bark, clove bud) are to be used sparingly, in very low amounts. Cold-pressed lime or bergamot are phototoxic citrus oils that might make people more sensitized to the sun. The safety profile of every oil should always be researched prior to the use of the oil in a soap.
Conclusion
Soap bars are a better choice of natural skincare because of their sustainability and creativity, including essential oils. With a close attention to the choice of nourishing ingredients and adherence to safe preparation techniques, it is possible to make personalized soaps that perform the cleaning function but also have aromatherapeutic properties. When you make your own soap and cure it, it will be easy to have a luxurious and environmentally friendly eco-soap as part of your daily routine.
DISCLAIMER
This content is for informational purposes only and is not a substitute for professional medical advice, diagnosis, or treatment. Always consult a healthcare provider before using essential oils for any health condition.